The small molluscs are then brought back to the factory, where they are removed from the shells using a machine, before being sorted and put into bags. The bags are then laid out on tables at sea so that the oysters can continue to grow at their leisure. Water and sun: la dolce vita!
 Ostreiculture Huitre Chatelaillon Boucholerus Laurinda Hudgens
The Châtelaillon oyster guide
As an aperitif or at lunchtime, we love eating them! Discover Châtelaillon’s oyster trail, from sea to plate. Follow the guide!
Stage 1 - Capture
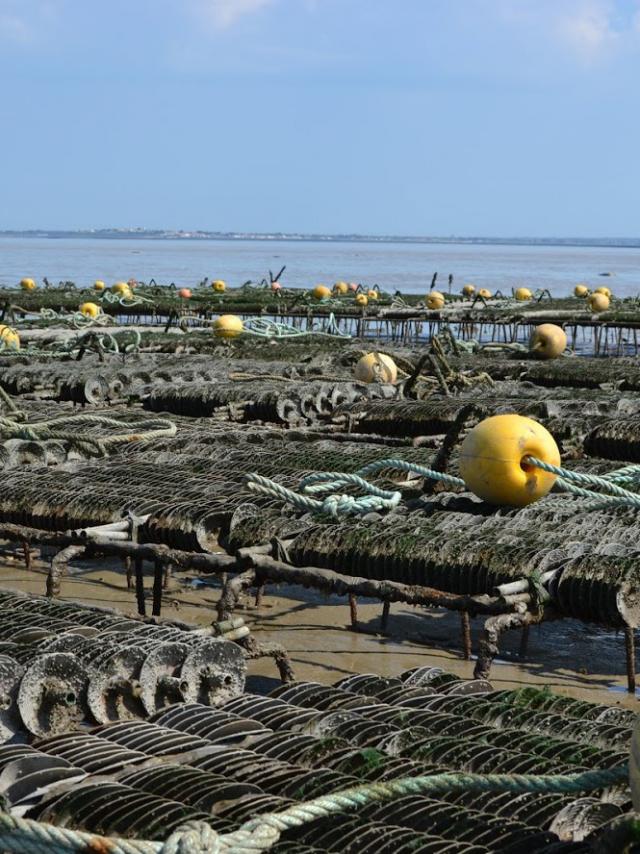
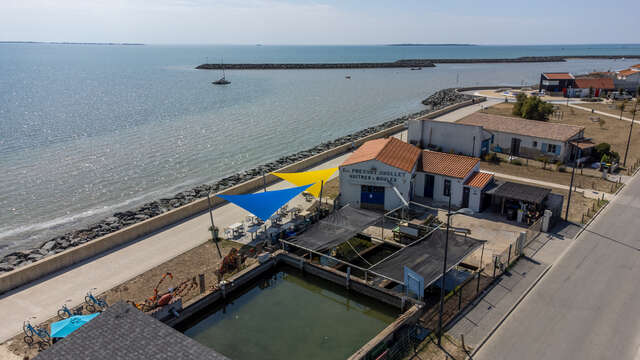
It all begins at sea, with the installation by oyster farmers of collectors on which the oyster larvae in Châtelaillon settle. Their development can begin! 4 to 8 months later, the spat are ready to be harvested. This is known as spat collection.
Spat? These are baby oysters no bigger than a fingernail. Spat can also be supplied by shellfish farms, known as hatcheries.
*Pssst, you can see the tables and their pockets on the Boucholeurs beach at low tide. It’s well worth a look!
Stage 2 - Breeding
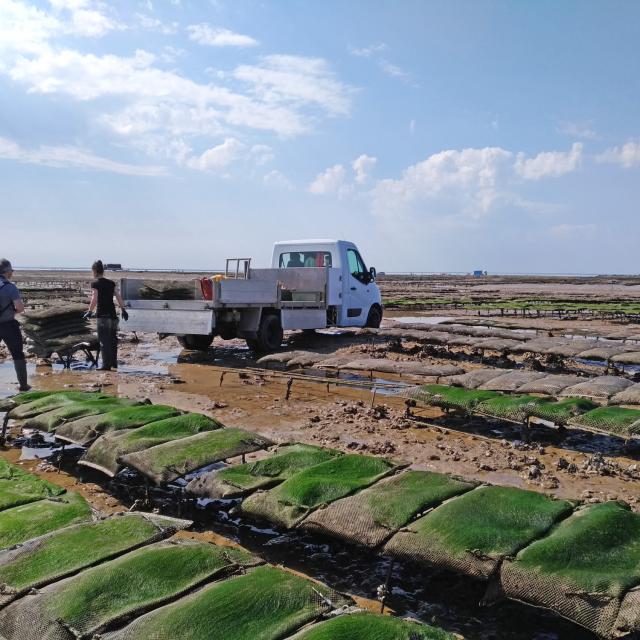
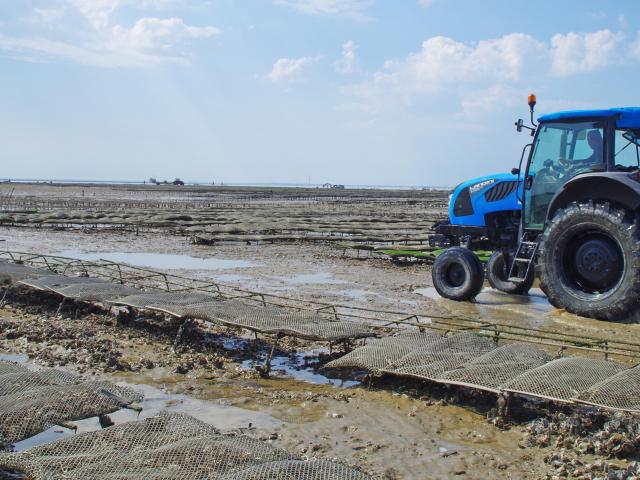
Once the bags are in the sea, they remain there for 2 to 3 years. Several operations are then necessary to ensure that the oysters grow properly.
1 – Remove the pockets
So, no, you don’t throw them out (we advise you to run fast otherwise) but you do turn them over regularly to encourage the development of molluscs and limit the appearance of algae.
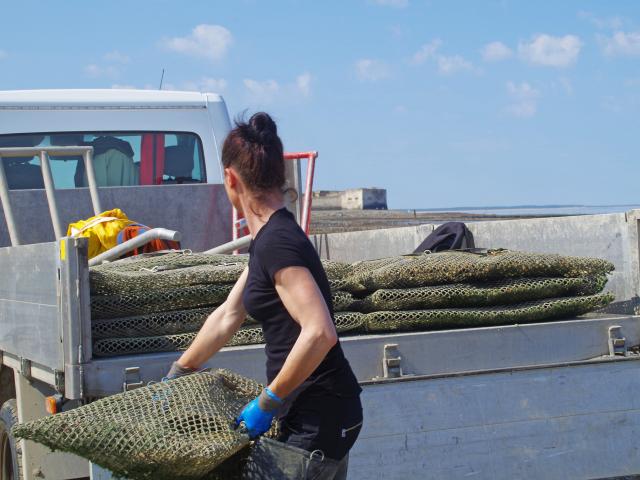
2 – Changing pockets
After a while, you’re bound to run out of space! The oysters are taken back to the establishment, transferred in smaller quantities into larger bags and then put back on the tables. Pampered and pampered, Châtelaillon oysters have nothing to complain about.
Find out more about these two techniques and many others by booking your visit to the oyster beds!
Stage 3 - Refining


Once they have reached a size* suitable for sale, the oysters are placed in seawater basins, generally shallow and with a clay bottom, known as “claires”. This maturing technique is a highly regulated operation. It is used to obtain either fines de claires or spéciales de claires. It all depends on the length of immersion.
*Did you know?
Oyster sizes, or calibres, are also regulated by a professional agreement. They range from 0 to 5 for hollow oysters and from 000 to 6 for flat oysters. The smaller the number, the bigger the size!
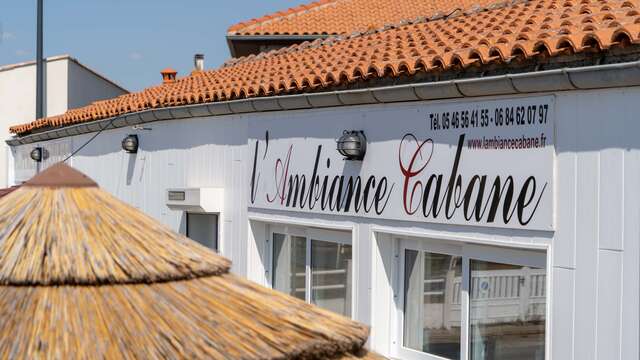
To find out more about Châtelaillon oysters, why not visit an oyster shack with Laurence? She’ll be delighted to teach you the basics of her trade.
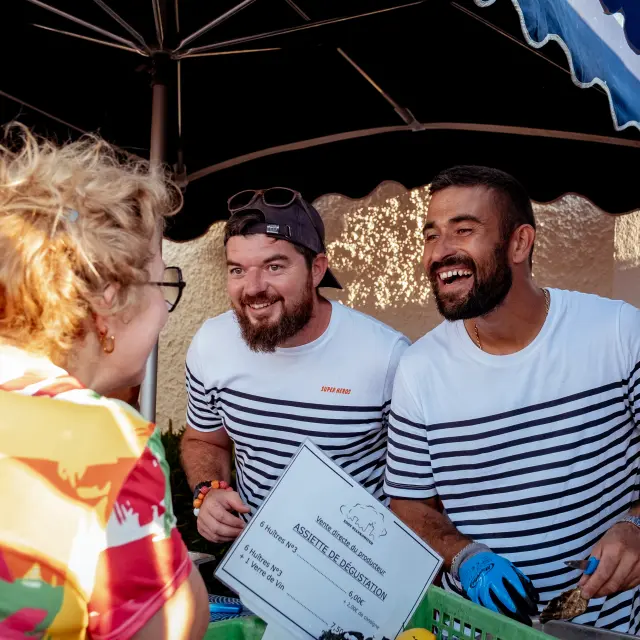
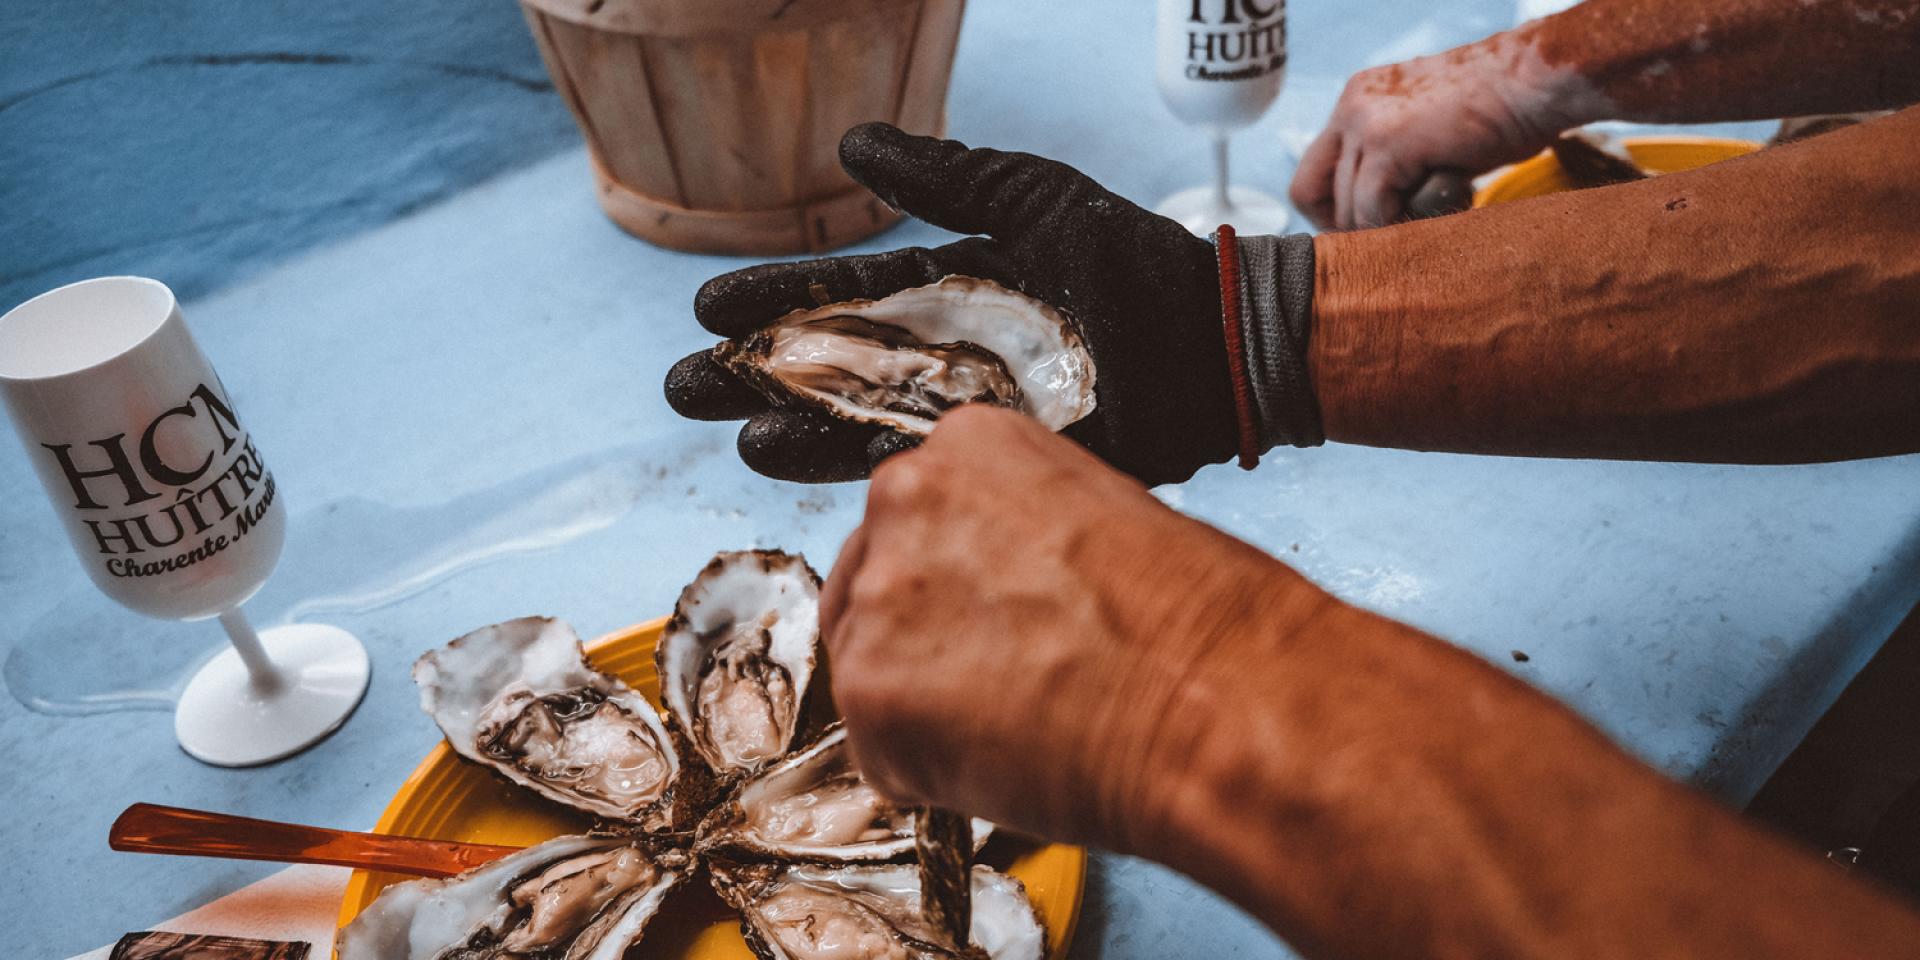
Stage 4 - Tasting
Hot or cold, with a squeeze of lemon or just for its iodised taste, it’s time to savour the Châtelaillon oyster! Enjoy your meal!
 Degustation Huitre Chatelaillon